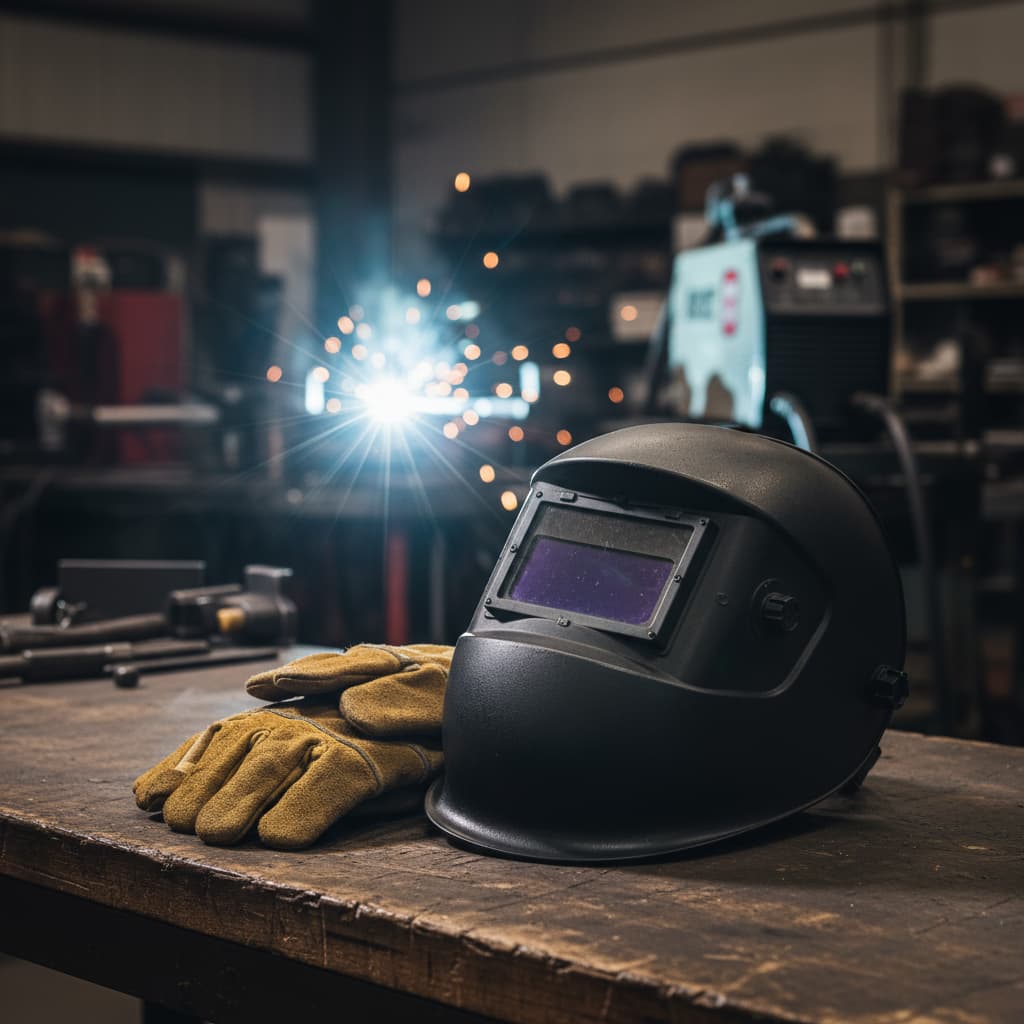
Becoming a certified welder is the most important step in your career. It proves that you have the skills and knowledge required to meet industry standards for safety and quality. While the path can vary, here is a general roadmap to get you started.
Get a High School Diploma or GED: This is the foundational requirement for most reputable welding programs.
Enroll in a Welding Program: Look for a program at a trade school, technical college, or community college. A good program will provide both classroom instruction on topics like metallurgy and blueprint reading, as well as extensive hands-on practice.
Gain Experience and Practice: The more you weld, the better you become. Your training program will provide the necessary practice, but you should also seek out opportunities to work on your technique outside of class.
Pursue Certification: Certification is what separates a hobbyist from a professional. The most widely recognized certification is from the American Welding Society (AWS). The AWS offers certifications in various welding processes and positions. Passing an AWS certification test can significantly increase your job opportunities and earning potential.
Get a Job and Keep Learning: Your first job will be a crucial learning experience. Always be willing to learn new techniques and consider getting more advanced certifications as your career progresses.
Becoming a certified welder takes dedication, but the hard work pays off with a well-paying and secure career.
After my GED, I booked a Saturday AWS 3G plate test through a local community college instead of a big school and saved a couple hundred bucks. Biggest tip: pick one process and run the exact test joint over and over — same bevel, 1/8 in gap, same travel speed — until your root ties in clean every time. Spend a few bucks on scrap coupons and a fresh flap disc beforehand; the bend test is kinda brutal if your prep’s sloppy.
Ask for the WPS for your AWS 3G plate test ahead of time and practice those exact amps and travel speed on scrap. I blew my first bend (ran too hot, ugh), came back with a cleaner fit-up, fresh 7018s, and a flap disc for prep, and passed. Even if you’re still finishing the GED piece, you can shadow a local shop and get real hood time while you line up the test.
While you’re hitting that high school diploma/GED box, tack on OSHA-10; it was ~$80 online and the shop I applied to asked about it during the weld test. That got me a helper gig and extra booth time, which made certification week way less stressful.
One thing that helped me was calling the certification site to ask what machine model they’d have, then renting two hours on the same unit at a community lab for ~$30 so the arc feel wasn’t a surprise. If you can’t match the machine, at least bring the wire brand you’ve been running and jot down volts/ipm — made it easier to focus on the ‘safety and quality’ piece you highlighted.
Quick example: dialing in my coupon fit-up made the biggest difference — I used a feeler gauge to keep a true 1/8 in root opening and the weld ran the same every time. A CWI told me, “start clean, finish cleaner,” so I degreased, removed mill scale, and brushed between passes; if you don’t have gauges, a clipped piece of 1/8 in filler works in a pinch. Small caveat: some test booths limit tools, so ask ahead and bring only what they allow.
I kept a small logbook during practice with exact amps, wire speed, and torch angle for 3G/4G and treated it like a “recipe” on test day; it kept me from chasing settings. If the site won’t hand you a WPS, ask @CWI_Mark to confirm the acceptable ranges so you’re covered.
I passed my 3G/4G plates after practicing “dry runs” with gloves on to lock in body position and lay out my leads so the cable didn’t pull at the puddle. In the booth, I also wire-brushed the ground spot and asked the proctor to move the clamp closer — tiny change, but it steadied the arc; if they won’t move it, at least clean it before you start.